Setup Guide 2026 · Add Task

How to Add a Task in Trinity Guard®

Learn how to create a patrol task, assign checkpoint actions, set subtasks, and prepare a guard’s scheduled patrol inside Trinity Guard®.

A task defines what the guard must complete during an active shift. The shift defines when the guard is on duty; the task defines the patrol work inside that time window.
Quick expert summary

Add the patrol task after the shift is created

In Trinity Guard®, a task is the actual patrol work that a guard must complete during a scheduled shift. The task can be created with a map, connected to an existing checkpoint template, and divided into subtasks for individual checkpoint actions.

The setup order matters. First, add the site. Then add checkpoints. After that, add the guard user and create the shift. Once the shift exists, you can add the patrol task that belongs inside that working period.

In this guide, the task is created for the NorthGate Logistics Site – Dallas, TX test environment. The task name is NorthGate Logistics Patrol, the task starts at 2026-06-22 10:15, and the assigned checkpoint template is NorthGate Logistics Patrol Checkpoints.

The task includes checkpoint subtasks such as Main Gate Check, Warehouse Entrance Check, Loading Area Check, and East Fence Line Check.

  • Open Add Task from the onboarding flow after Add Shift is completed.
  • Create a map-based task connected to a checkpoint template.
  • Add subtasks for the selected checkpoint points.
  • Save the patrol task and confirm it in the task preview and onboarding panel.
Workflow

The correct Add Task setup path

The Add Task step belongs after Add Shift in the onboarding flow. This is important because a patrol task should be scheduled inside a real guard shift.

1Select Add TaskUse the onboarding checklist after the Add Shift step is completed.
2Open the empty task formThe system opens the Add Task screen for the selected guard and shift.
3Choose With MapCreate a map-based patrol task connected to checkpoint locations.
4Enter task detailsAdd the task name, description, and start time inside the shift period.
5Select checkpointsChoose the checkpoint template that belongs to the site patrol route.
6Add subtasksAssign an action to each checkpoint point.
7Save the taskClick Add task and confirm the patrol task was created.
8Review completionConfirm the task card and the completed Add Task onboarding step.
Interactive walkthrough

How to add a task step by step

Follow the real Add Task workflow inside the Trinity Guard dashboard. Click any step to view the related screen.

Trinity Guard® setup guide screenshot showing the Add Task onboarding step before task creation.

Step 1: Select Add Task in the onboarding panel

After Add Shift is completed, the onboarding checklist shows Add Task as the next setup step. Click Add Task to create the first patrol task for the guard’s scheduled shift.

Detailed guide

Create the first patrol task

1

Select Add Task in the onboarding checklist

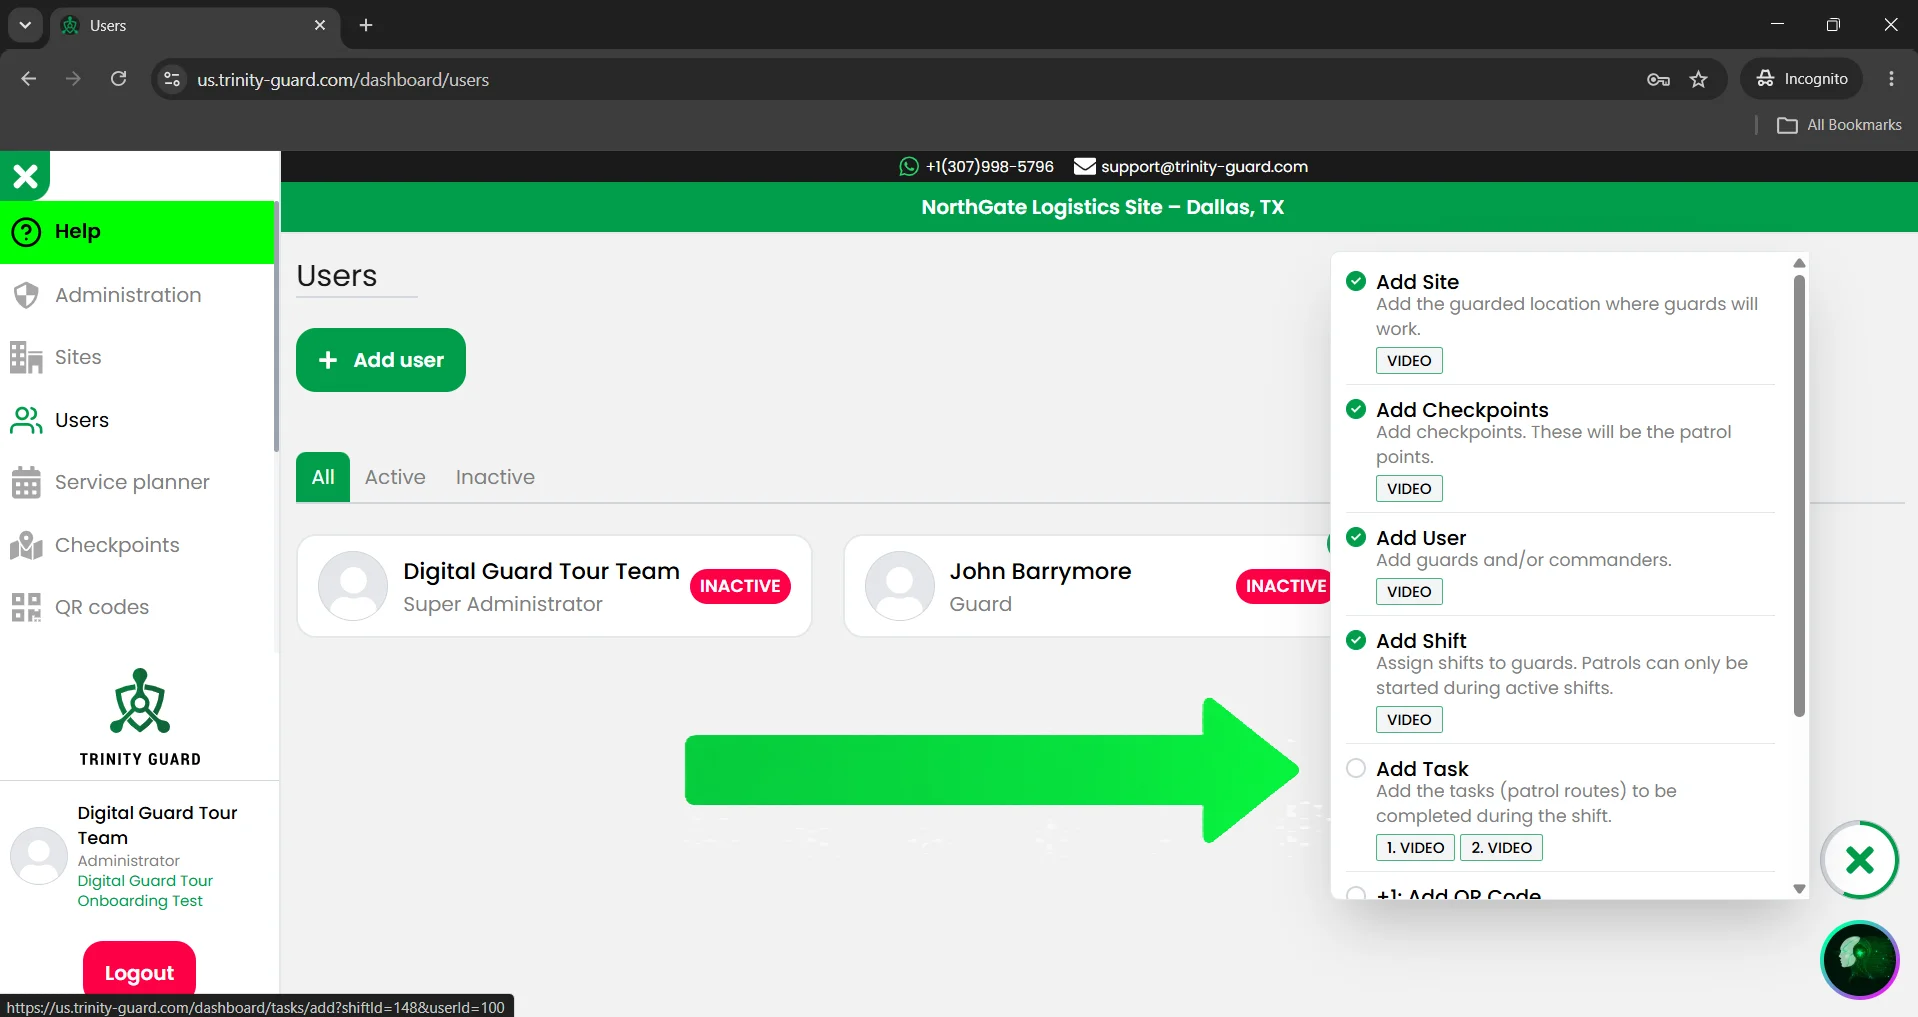
After the site, checkpoints, user, and shift are created, the onboarding panel shows the next operational step: Add Task.

Click Add Task in the onboarding checklist. This opens the task creation page connected to the selected guard and shift context.

The order is intentional. The shift creates the working time window, and the task defines what the guard must complete during that window.

2

Open the Add Task form

The Add Task page opens with the Task Type field, task name, task description, task start time, and map-based preview area.

If no saved task template exists yet, the template selector will show that there is no task template to display. That is normal for the first setup.

For this guide, use With Map, because the task will be connected to checkpoint locations.

3

Enter the task name, description, and start time

Use a task name that clearly describes the patrol route. In this example, the task name is:

NorthGate Logistics Patrol

The description explains the purpose of the task:

Regular patrol task for the NorthGate Logistics Site, including the assigned GPS checkpoints.

Then enter a start time that falls inside the assigned shift. In this example, the task starts at 2026-06-22 10:15.

4

Select the checkpoint template

In the Select checkpoints (template) field, choose the checkpoint route that belongs to the site.

For this example, the selected checkpoint template is:

NorthGate Logistics Patrol Checkpoints

The map preview shows the assigned checkpoint points. These points become the locations where the guard must complete the task actions.

5

Add the first subtask for Point 1

Select Point 1, choose the subtask type, and enter the subtask name.

For the first checkpoint, use:

Main Gate Check

In the screenshot, the subtask type is Stay in point. This is useful when the guard should remain at a location for a defined period before the point is considered completed.

6

Add subtasks for the remaining checkpoints

Continue adding checkpoint actions for the remaining points on the route.

In this guide, the additional subtask names are:

Warehouse Entrance Check, Loading Area Check, and East Fence Line Check.

You can use different subtask types depending on what the guard must do at the checkpoint. For example, Touch Point can be used when the guard only needs to confirm the point, while Stay in point is used when a duration is required.

7

Review the task preview

Before saving, review the task preview on the right side of the screen.

The preview should show the task name, task description, map, start status, and the added subtasks.

If more subtasks are added than fit in the preview area, the remaining items can be expanded with the Show more link.

8

Save the task

After the subtasks are added, click the green Add task button.

You can also check Save as task template if this patrol structure should be reused later.

This is useful for recurring patrols where the same route, checkpoint actions, and subtask structure will be used again.

9

Review the success message

After saving, Trinity Guard® shows a confirmation message: Task added successfully.

The confirmation proves that the task has been created and connected to the selected guard shift.

From the confirmation window, you can open the guard’s tasks or close the message.

10

Review the created task card

The created task card shows the task name, description, map preview, subtasks, and current state.

In this example, the task appears as Not started. That is expected before the guard begins the patrol.

The card also includes operational actions such as Edit task, Delete task, and Copy Task.

11

Confirm Add Task is completed in onboarding

After the task is created, the onboarding checklist marks Add Task as completed.

This confirms that the site now has a user, a shift, checkpoints, and a patrol task connected to the shift.

From here, you can continue with QR code setup or start testing the patrol flow with the guard mobile app.

Task setup note: the user account identifies who performs the work. The shift defines when the guard is on duty. The task defines what must be completed during that shift.
Atomic truths

Short operational rules for Add Task

These statements summarize the logic behind task setup in Trinity Guard®.

A task defines what the guard must complete during the shift.
A shift should exist before a patrol task is created.
The task start time must fall inside the shift period.
A map-based task uses assigned checkpoint points.
Subtasks define what must happen at each checkpoint.
Checkpoint order is not enforced by design.
GPS tracking only starts when the guard begins the patrol.
Background GPS tracking is never active.
AI verification analyzes context, not speed.
Security isn’t logged. It’s proven.
If it’s not verified, it didn’t happen.
Real patrols. Real data. Real proof.
Operational logic

Why tasks matter in patrol verification

A shift only tells the system when a guard is scheduled to work. A task tells the guard what must be completed during that working period.

With a map-based task, administrators can connect patrol work to real checkpoint locations. This makes the patrol easier to verify, easier to review, and easier to explain to clients.

Trinity Guard® separates scheduling from patrol verification. The shift defines the working window. The task defines the required activity. The checkpoint confirms the guard reached the required location. The subtask defines the action expected at that location.

This structure helps security companies build cleaner documentation, stronger accountability, and better client-facing proof of patrol activity.

Common mistakes

Common Add Task mistakes to avoid

  • Do not create a task without checking the shift window. The task start time should be inside the shift period.
  • Do not use vague task names. A clear task name makes reports easier to understand later.
  • Do not forget checkpoint subtasks. The task name alone does not explain what the guard must do at each point.
  • Do not confuse checkpoints with tasks. Checkpoints are locations. Tasks are patrol assignments built from those locations.
  • Do not assume checkpoint order is enforced. Trinity Guard® does not enforce checkpoint order by design.
FAQ

Add Task questions

What is a task in Trinity Guard®?

A task is the patrol assignment that tells the guard what must be completed during a scheduled shift.

Is a task the same as a shift?

No. A shift defines when the guard is on duty. A task defines what patrol activity the guard must complete during that shift.

Can I add a task before adding a shift?

The recommended onboarding flow is to add the user, add the shift, and then add the task. This keeps the patrol task connected to a real working time window.

What does With Map mean?

With Map means the task is connected to checkpoint locations. The administrator can select a checkpoint template and create subtasks for the points on the map.

What is a checkpoint template?

A checkpoint template is a saved set of checkpoint points for a site. It lets the administrator reuse the same patrol route structure when creating a task.

What is a subtask?

A subtask defines what the guard must do at a selected checkpoint point, such as staying at the point for a duration or touching/confirming the point.

What is Stay in point?

Stay in point is a subtask type used when the guard should remain at the selected checkpoint point for a defined duration.

What is Touch Point?

Touch Point is a subtask type used when the task requires the guard to confirm or touch the selected checkpoint point without a stay duration.

Does Trinity Guard® enforce checkpoint order?

No. Checkpoint order is not enforced by design.

What happens after I click Add task?

The system saves the patrol task and shows a success confirmation. The created task can then be reviewed as a Not started task before the guard begins the patrol.

Can I save a task as a template?

Yes. If the task structure should be reused later, check Save as task template before saving the task.

Next step

Your first patrol task is ready for testing

After the task is added, the site has the core onboarding structure needed for a basic patrol test: site, checkpoints, user, shift, and task.

The user account identifies who performs the work. The shift defines when the guard is on duty. The patrol task defines what must be completed during that shift.

Start with one simple map-based task, review the result, and then expand the task structure after the first patrol test has been completed.

Gyula Györfi, security technology expert and founder of Trinity Guard LLC
Gyula Györfi Security technology expert, veteran police commander, and founder of Trinity Guard LLC. This setup guide is based on the real Trinity Guard® Add Task onboarding flow used after the first site, checkpoints, guard user, and shift are created.